How to repair a broken 18650 lithium-ion battery charger?
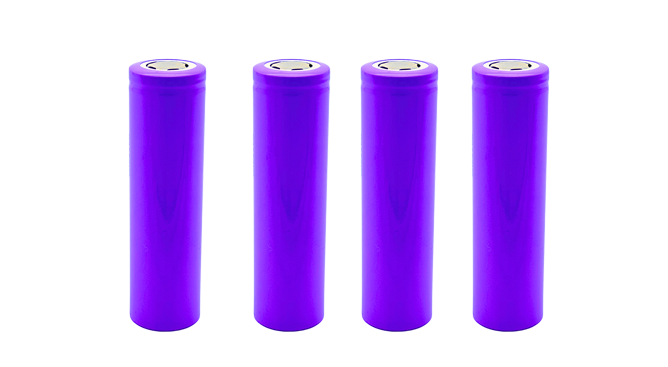
The 8650 lithium battery is a commonly used lithium battery in electronic products nowadays. It is found in the battery cells of laptops, power banks, portable fans, high-intensity flashlights, and even cars.
A while ago, when I was packing up, I found out that the 18650 charger couldn't be charged, the indicator light wasn't on, the output voltage was 0, and it was quiet at night. I started repairing it.
Firstly, let's dismantle the charger and the three screws on the back, which makes it easy to disassemble.
Carefully observe the circuit board components, there is no abnormal odor or burning phenomenon. The board is very clean, so now we can only measure step by step.
Preparation tools: multimeter, screw set, desktop pliers (to clamp the circuit board for easy disassembly and soldering), solder paste, solder wire
Now let's start measuring. Here is a brief description of my own testing method for the quality of each component.
Resistance: First, set the range of the multimeter to 200k, without distinguishing between positive and negative poles. Connect the probes to either side of the resistance and observe if there is a reading on the multimeter. If there is a reading, there is no problem. If there is no reading, increase the range. If there is still no reading after adjusting to the maximum, it proves that the resistance is open and should be replaced with a resistor of the same specification.

Capacitor: First, set the range of the multimeter to the on/off test mode. Connect the probe randomly to both ends of the capacitor and observe if there is an increasing reading until it reaches the position where it cannot be read. If the positive and negative poles of the probe exchange and the same phenomenon occurs, it is good. Otherwise, it has already been broken down.
Ordinary diode: A diode is divided into positive and negative poles, conducting in the forward direction and not in the reverse direction. Therefore, this property is used for quality detection, which can be tested using on-off mode or Ohmic mode.
Transistor: I tested the quality of a transistor in this way, which is divided into PNP and NPN. Therefore, first set the multimeter to the ohm range, then place the red probe in the middle and the black probe on both sides to measure the resistance value. If there is no resistance, place the black probe in the middle and measure both sides with the red probe. If both of these have no resistance, then this transistor should have a problem. Of course, it can also be removed and plugged into the transistor measurement interface of a multimeter for direct measurement, it's just a bit more complicated.
Attention: When you detect an abnormality in a component during testing, do not purchase a replacement directly, as the measurement results in the circuit may be inaccurate and need to be disassembled for measurement to determine its quality! To avoid wasting a lot of time on purchasing or searching for components, replacing them may not solve the problem, as the components are not broken.
Okay, after my test, all components are normal! So the question is, where did the problem occur? Only this one, the HT3S82DM chip, is a power management chip available for sale online.
After identifying the problem, purchase the chip and replace it directly with a soldering iron.
During disassembly and welding
The circuit board after replacing the chip
Installed charger
After installation, test and eliminate any problems! So the question is, why did this situation occur? The chip will burn out. Under normal circumstances, the integrated blocks on the circuit board are not easily damaged. Under what circumstances are they easily damaged? Instability, pulse and other abnormal situations at the input of the integrated block. The root cause is still insufficient in terms of circuit planning, materials, and workmanship. A good charger can be used for ten or twenty years because of its careful workmanship, solid materials, and reasonable planning.
