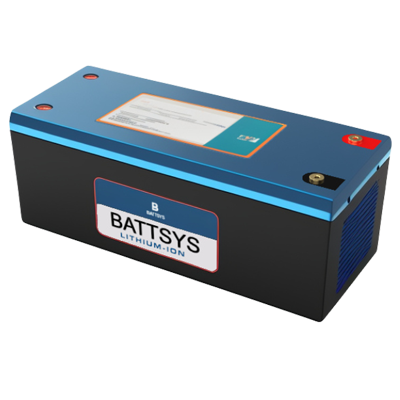
How to install a 48 volt golf cart battery.
Installing a 48V battery for your golf cart is a relatively simple process. The following are the general steps to follow.
A) Ensure safety: Before starting installation, make sure the golf cart is turned off and all golf cart battery connections are disconnected.
B) Remove the old battery: Carefully remove the old battery from the golf cart. If you use lead-acid batteries, be careful of any acid spills or corrosion.
C) Prepare a new battery: If you are using a
lithium battery, make sure to fully charge it before installation. Also, please check the specifications of the battery to ensure compatibility with your golf cart.

D) Connecting cables: Connect the positive (+) and negative (-) cables to the corresponding terminals on the controller. New battery. Ensure that the connection is firm and reliable.
E) Install the battery: Place the new battery into the designated battery box and secure it properly.
F) Reconnect electrical connections: All electrical connections before reconnecting have been disconnected.
G) Test battery: Open the golf cart and check if the battery is functioning properly. If necessary, please fully charge the battery before using the golf cart.
