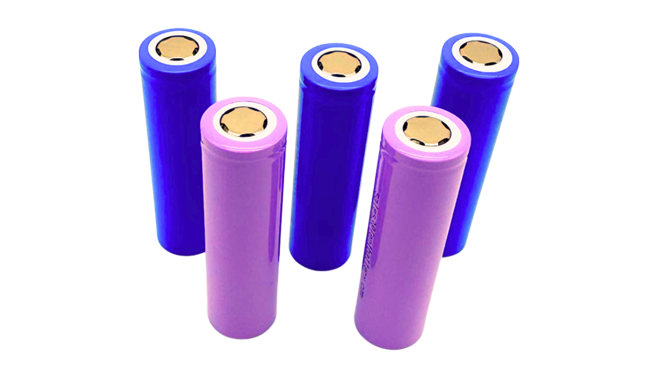
Li-ion Battery 18650 production process.
(1) Raw material mixing
Positive electrode: Mix a proportion of polyvinylidene fluoride (PVDF) and N-methylpyrrolidone (NMP) into the mixture
Mix in the mixer and adjust the mixer speed; Then add the positive electrode active material and carbon black, evacuate, and adjust
The speed of the entire mixer.
Negative pole: Mix latex and water in proportion in the mixer, adjust the mixer speed to; then
Add CMS, evacuate, and adjust the mixer speed.
(2) Coating
Place the aluminum strip (with copper strip as the negative electrode) flat on the coating machine, ensuring that the aluminum strip does not deviate or wrinkle
Smooth running, no material leakage, and no slipping. Apply the prepared slurry evenly onto the machine and set the corresponding parameters,
This includes the positive electrode slurry walking speed, negative electrode slurry walking speed, oven temperature, and coating width. During the walking process, it is necessary to
Observe whether the slurry is straight, without tilting or misalignment, and whether the thickness of the slurry applied to the aluminum strip (copper strip) is uniform
agreement.

(3) Vacuum drying
Place the coated positive and negative electrodes in a vacuum oven for drying, with a vacuum degree of -0.09MPa.
(4) Cut large pieces
Cut the coated positive electrode sheet into large pieces of a certain length (depending on the specific battery design) using a cutting machine
The walking speed is 55mm/min, and it is required that the incision is free of burrs.
(6) Scraper blade
Scrape off the slurry on one end of the positive and negative electrodes to prepare for ultrasonic spot welding, and use double-sided scraping.
(7) Roll pressing
Press the strip-shaped pole pieces into pole pieces of a certain thickness for winding, strictly control the thickness of the pole pieces during pressing, and roll them
The head to tail deviation of the rear pole piece shall not exceed 0.010mm. At the same time, keep the tablet press clean and clean it with alcohol every 2 hours
A tablet press.
(8) Cut small pieces
Cut the cut large pieces into strip-shaped small pieces of a certain width (depending on the specific battery design), requiring cutting
No burrs on the mouth.
(9) Welding ear
Weld the positive tab (aluminum strip) and negative tab (nickel strip) separately onto the positive and negative plates using an ultrasonic welding machine
The position of the scraper. Attention should be paid to preventing welding deviation, welding misalignment, and virtual welding.
(10) Winding up
Place the ion exchange membrane flat on the winding needle, with the front end extending 2-5mm from the winding needle, and the four corners of the pole piece not
There can be wrinkles, the pole piece cannot fall off, the adhesive tape is slanted, the single-sided adhesive tape is too long, the double-sided adhesive tape is misaligned, and the adhesive tape
Defects such as uncovered solder joints must be covered, and the positive electrode material must hold onto the negative electrode material. The pole piece must not be rolled off center, and the front end of the pole piece must be
It needs to be inserted to the top.
Check for winding defects: uneven ion exchange membrane, with positive and negative electrodes exceeding the exchange membrane; High slice, low slice; Jipian not yet
Placed in position, the positive end of the outer ring did not hold onto the negative end, and the positive and negative electrode plates of the inner ring were not in contact with the top of the exchange membrane
Overlapping, there is still a distance; The negative electrode tail of the exchange membrane is too tight; The positive aluminum strip and negative nickel strip are too long and too short; electric
Poor adhesive tape at the end of the pool core; The battery cell is not rolled in place: the distance between the positive and negative electrode ears is too wide or narrow; Exchange membrane not flattened
Wrinkle; Positive electrode edge curling; The positive electrode sheet is not curled or has missing corners; The exchange membrane has not fully wrapped around the tail of the negative electrode; Inner and outer poles
Misalignment of fragments.
(11) Bottom welding
First, place the insulation gasket into the steel shell, then place the wound battery cell into the steel shell, and use a spot welding machine to weld the negative electrode ear
Welded at the bottom of the steel shell. Inspect the outer surface of the bottom of the steel shell and remove any appearance defects such as yellowing, blackening, defects, and explosions,
And try pulling the electrode ear to pick out batteries that cannot be spot welded firmly, such as those with explosive flames, virtual welding, and detachment.
(12) Sealing
First, use a spot welding machine to spot weld the steel shell and cap of the battery, and then use a laser welding machine to continuously laser weld them
Take it. Laser welding should ensure accurate positioning, clean welding area, and strictly prohibit deformation or damage to the battery. After welding, inspection should be carried out
Check and repair welding for batteries with welding holes, explosions, and other defects.
(13) Baking
Bake for 12 hours under constant temperature and vacuum degree of -0.09MPa, mainly to dry the battery cells
The moisture.
(14) Inject liquid
Inject the vacuum baked battery cells into a glove box filled with Ar gas and inject the electrolyte according to the amount of the battery
Different in design, the battery needs to be weighed before and after injection, and the weight difference is the amount of injection used to determine the amount of injection
Whether the quantity is appropriate or not.
